QR Code Size Guide for Printing is one of the most critical technical topics in modern print design. While QR codes appear simple, their physical size directly determines scan reliability, scan speed, and user success rate. A poorly sized QR code does not merely scan slower — it can become completely unusable.
In print environments, QR code performance depends on physical laws:
- Light reflection
- Ink spread
- Pixel density
- Viewing distance
- Surface distortion
- Camera resolution
This complete QR Code Size Guide for Printing explains not just “what size to use,” but why those sizes matter, how they are calculated, and how professional print workflows ensure scan reliability in real-world conditions.
How QR Code Scanning Actually Works
To understand any serious QR Code Size Guide for Printing, you must first understand scanner behavior.
A smartphone camera does not read a QR code like a human sees it. Instead:
- The camera detects contrast between dark and light modules.
- The software identifies finder patterns (the three large squares).
- It calculates module grid size.
- It decodes binary data from square alignment.
If the QR code is too small:
- Modules blur together.
- Camera pixels cannot differentiate modules.
- Error correction may fail.
- The scan times out.
If modules become smaller than 3–4 camera pixels, reliability drops significantly.
This is why QR Code Size Guide for Printing standards exist.
Understanding Module Size (Advanced Concept)
A QR code is built from modules (small squares). The more data encoded:
- The more modules are required.
- The denser the code becomes.
Example:
A simple URL QR code may use a 29×29 grid.
A complex dynamic link with tracking parameters may use 33×33 or higher.
If the physical QR code size is fixed at 2 cm:
- 29 modules → each module ≈ 0.69 mm
- 33 modules → each module ≈ 0.60 mm
Smaller modules = harder scanning. So in a professional QR Code Size Guide for Printing, we must consider:
Physical size ÷ number of modules = module dimension
For reliable scanning:
- Module size should ideally be at least 0.4 mm
- Preferably 0.5–0.8 mm for safe margin
This is why higher data density requires larger overall QR code size.
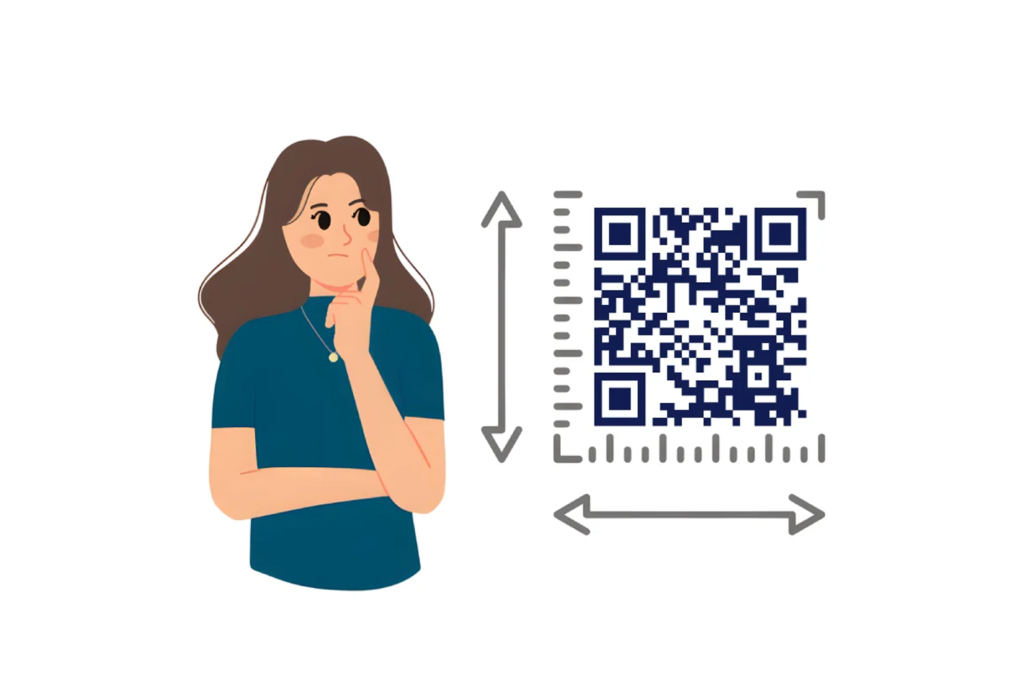
What Is the Ideal QR Code Size for Printing?
There is no universal fixed size. Instead, professionals use:
1. The Minimum Close-Range Size
For handheld scanning (20–30 cm distance):
- Absolute minimum: 2 x 2 cm
- Safer recommendation: 2.5–3 cm
Below 2 cm, module size may drop below reliable detection threshold.
3. The 10:1 Distance Rule (Core Principle)
The most fundamental rule in any QR Code Size Guide for Printing is:
QR Code Size = Viewing Distance ÷ 10
Why divide by 10?
Because smartphone cameras need a QR code to occupy enough field of view for module recognition.
Example Calculations
If users stand 2 meters away:
200 cm ÷ 10 = 20 cm QR code
If scanning from 5 meters:
500 cm ÷ 10 = 50 cm QR code
This ensures that modules are large enough to be resolved by camera sensors.
QR Code Size Guide for Printing Based on Use Case (Expanded)
Now let’s analyze real-world print environments more deeply.
| Use Case | Recommended Size | Scan Behavior Consideration | Error Level |
|---|---|---|---|
| Business Card | 2.5–3 cm | Close handheld | M or Q |
| Restaurant Table Tent | 3–4 cm | Lean-in scan | Q |
| Product Box | 2–4 cm | Shelf scanning | Q |
| Brochure | 3–5 cm | Arm-length | M |
| Trade Show Banner | 15–30 cm | Standing distance | H |
| Outdoor Billboard | 50–120 cm | Long-range capture | H |
Business Cards
People typically hold business cards at a distance of 20–30 cm from their phone when scanning. At this close range, a 3 cm QR code is considered the safest and most reliable dimension according to any professional QR Code Size Guide for Printing.
A properly sized 3 cm QR code ensures:
- Fast recognition
- Comfortable camera framing
- Minimal repositioning
- Higher first-attempt scan success rate
- Better performance across older smartphone cameras
Smaller QR codes (2 cm or less) may technically work, but they often require users to adjust distance or angle repeatedly, which reduces user experience and engagement.
When placing a QR code on a business card, always maintain a proper quiet zone and avoid positioning it too close to trim edges or design borders. For a deeper understanding of how QR codes function structurally, read our detailed guide on What Is a QR Code?
Restaurant Menus
Menus are scanned while sitting.
Recommended:
- 3–5 cm
- Use matte lamination
- Avoid glare
Glossy surfaces reduce contrast.
Product Packaging
Products are scanned while holding.
Consider:
- Curved surfaces
- Shrink wrap distortion
- Print bleed margins
Increase size by 10% if on curved packaging.
Posters
People rarely stand extremely close.
For 2-meter distance:
- 20 cm QR code
For mall hallway:
- 25–30 cm safer
Billboards
Reality check:
Most billboard QR codes fail because:
- Drivers cannot stop safely
- Code is too small
- Sun glare interferes
For 10-meter scanning:
- 1 meter QR code minimum
This is not design exaggeration — it is physics.
QR Code Size and Scan Distance Formula (Technical Depth)
Let’s break the 10:1 rule more technically.
Camera detection depends on:
- Angular resolution
- Pixel density
- Object size relative to field of view
If QR code is too small in frame:
- Fewer pixels represent modules
- Algorithm struggles to distinguish data
A QR code should occupy at least:
- 1/10 of viewing distance for reliable framing
Hence the 10:1 rule.
QR Code Size Guide for Printing with High Error Correction
QR codes use Reed–Solomon error correction, a mathematical algorithm that allows scanners to recover missing or damaged data. This is especially important in printed materials where scratches, folds, ink spread, glare, or partial obstruction may affect readability.
QR codes support four error correction levels:
| Level | Recovery Capacity | Recommended Use Case |
|---|---|---|
| L | 7% | Clean indoor materials |
| M | 15% | Standard business printing |
| Q | 25% | Packaging or semi-outdoor |
| H | 30% | Outdoor signage, billboards |
HHigher error correction works by:
- Adding redundant data blocks
- Increasing the total number of modules
- Making individual modules smaller
- Increasing overall visual density
This is where sizing becomes critical in a professional QR Code Size Guide for Printing.
When module density increases, each square becomes physically smaller if the overall QR code size remains unchanged. Smaller modules reduce scan reliability because smartphone cameras must detect finer contrast differences between adjacent modules. In low-light environments or when scanned at slight angles, dense QR codes can fail more frequently.
Therefore, when following a professional QR Code Size Guide for Printing:
- If switching from Level M (15%) to Level H (30%), increase the physical QR code size by 10–20%.
- If embedding a logo in the center, always use Level Q or H and increase overall dimensions accordingly.
- When using Level H for outdoor signage, increase size beyond the minimum 10:1 scan distance calculation to create a performance safety margin.
Ignoring this relationship between error correction level and physical QR code size is one of the most common reasons for scan delays and inconsistent performance in printed materials.
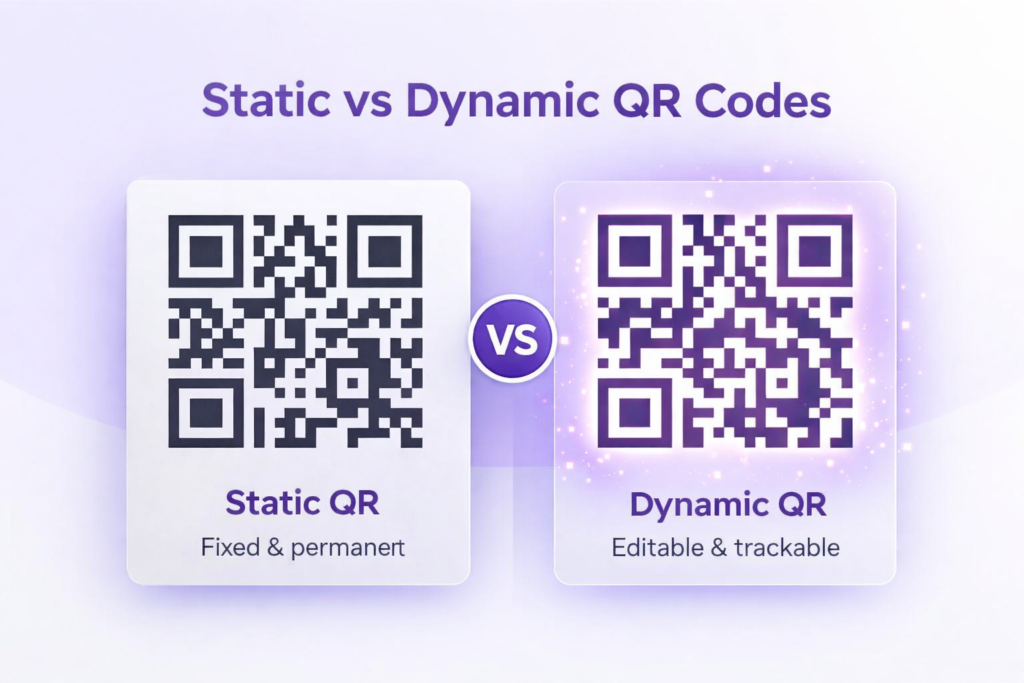
For a deeper technical explanation of how QR structure differs between static and dynamic implementations, see our guide on Static vs Dynamic QR Codes.
Print Resolution Requirements (Deep Technical Section)
300 DPI Explained
DPI = Dots per inch.
If QR is 2 cm (~0.8 inches):
At 300 DPI:
0.8 × 300 = 240 pixels
If code uses 29 modules:
240 ÷ 29 ≈ 8 pixels per module
That is acceptable.
At 150 DPI:
120 pixels total
120 ÷ 29 ≈ 4 pixels per module
Now reliability drops.
Hence:
Minimum 300 DPI for small QR codes.
Vector Format Importance
In any professional QR Code Size Guide for Printing, file format selection is just as important as physical dimensions. Many QR code scanning failures are not caused by size errors, but by improper file exports.
Why Vector Files Matter
Vector files:
- Store mathematical paths instead of pixels
- Scale infinitely without losing clarity
- Maintain sharp module edges at any size
- Prevent distortion during resizing
- Preserve exact square geometry
Unlike raster images, vector graphics are resolution-independent. This means whether your QR code is printed at 3 cm on a business card or 100 cm on a billboard, the module edges remain perfectly sharp.
Sharp edges are critical because smartphone scanners rely on high-contrast boundaries between dark and light modules. Even slight pixel blur can reduce scan speed.
Recommended Vector Formats
For reliable printing, use:
- SVG (Scalable Vector Graphics)
- EPS (Encapsulated PostScript)
- PDF (vector-based export)
These formats are ideal for commercial printers and maintain structural integrity across all sizes.
Design Tip: When you Generate a Free QR Code on our homepage, you can download your file in high-resolution formats that stay razor-sharp at any size, ensuring your printed materials scan perfectly every time.
Formats to Avoid
Avoid:
- Screenshot exports
- Low-resolution PNG files
- Compressed JPG files
- Social-media-downloaded versions
Raster formats compress data into pixels. When enlarged, modules become blurred or distorted. This reduces scan reliability, especially when following strict sizing rules from a QR Code Size Guide for Printing.
Quiet Zone: The Most Ignored Rule
Quiet zone is not decorative whitespace.
It allows scanners to detect QR boundaries.
Minimum:
- 4 modules on each side
If module = 0.5 mm
Quiet zone = 2 mm minimum
Never:
- Add borders touching code
- Crop white margin
- Place text near edges
Without quiet zone, even correctly sized QR codes fail.
Environmental Factors Affecting QR Code Size
Professional QR Code Size Guide for Printing must consider environment.
Lighting Conditions
Low light:
- Increase size slightly
- Use strong black contrast
Direct sunlight:
- Avoid glossy finish
- Use matte coating
Motion Scanning
If user scans while walking:
Increase size beyond minimum.
Example:
Train station poster at 2 meters:
Instead of 20 cm → use 25 cm.
Weather Exposure
Outdoor signs:
- Use high error correction
- Increase size
- Avoid fading inks
Common QR Code Printing Mistakes (Expanded)
Let’s be direct:
Most QR failures are due to poor sizing.
Common mistakes:
- Printing 1.5 cm QR on business card
- Ignoring scan distance
- Removing quiet zone
- Using gradient fills
- Adding logo without resizing
- Exporting at 150 DPI
- Stretching QR shape
- Cropping alignment markers
- Not testing multiple devices
- Printing reflective foil overlay
Every professional QR Code Size Guide for Printing explicitly warns against these.
Best Practices from Industry Standards
Professional recommendations in this QR Code Size Guide for Printing are based on internationally recognized QR code technical standards.
The official structural documentation for QR codes is maintained by Denso Wave, the original developer of the technology. Their technical resources outline module patterns, alignment structures, encoding rules, and error correction principles that influence proper sizing and scan reliability.
For official technical specifications, refer to: Denso Wave – Official QR Code Documentation
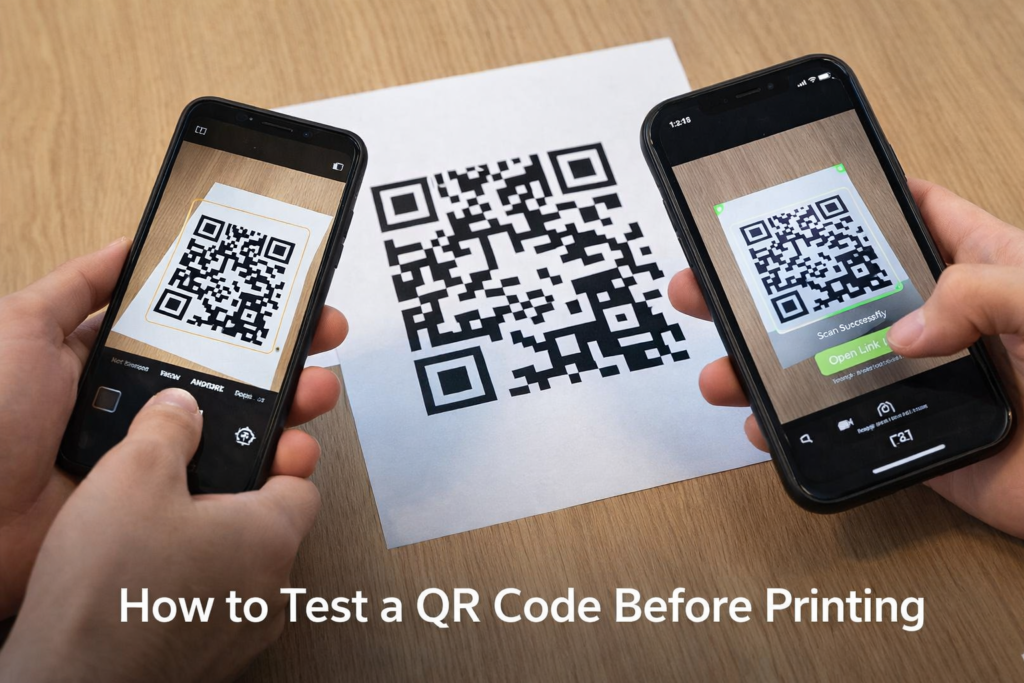
Testing Your Printed QR Code Before Mass Printing
Never skip testing.
Professional Testing Checklist
- Print at final production size
- Test on iPhone and Android
- Test older phones (lower camera resolution)
- Test low brightness
- Test from intended distance
- Test from angle
- Test under glare
- Test link accuracy
- Test in real environment
- Have multiple users scan
Testing ensures compliance with your QR Code Size Guide for Printing standards.
Frequently Asked Questions
What is minimum QR code size for printing?
2 cm minimum. 2.5–3 cm recommended. While 2 cm may work for very simple QR codes with short URLs, it is safer to print at least 2.5–3 cm to ensure consistent scanning across different smartphones. If the QR code contains more data or will be scanned from a distance, increasing the size further improves reliability.
Does QR size affect scan speed?
Yes. Larger codes scan faster and more reliably. Bigger QR codes allow cameras to detect the small modules more clearly, especially in low light or when printed on textured materials. Very small QR codes often require users to move closer or adjust their angle, which can slow down the scanning process.
What DPI is required?
300 DPI minimum. Vector preferred. A resolution of 300 DPI ensures the QR code prints sharply without blurred edges. For best results, using a vector format such as SVG is recommended because it can be resized without losing quality, making it ideal for both small prints and large banners.
Does higher error correction require larger size?
Yes. It increases module density. Higher error correction adds extra data blocks to the QR code, making it more complex. To keep it easily scannable, the overall printed size should be slightly larger, especially for marketing materials that may experience scratches or partial damage.
Can QR codes be too large?
Not technically, but oversized codes waste space. Extremely large QR codes can disrupt your design layout and reduce visual balance. The size should match the expected scanning distance — small for business cards and larger for posters or outdoor advertising.
Should QR codes be black?
Black on white provides highest contrast. Strong contrast ensures better scanning accuracy across all devices. While custom colors can be used for branding, always maintain high contrast between the QR code and background to avoid scanning issues.
Conclusion
This advanced QR Code Size Guide for Printing provides technical formulas, scanning mechanics, resolution standards, environmental considerations, and professional best practices.
Core Rules:
- Follow 10:1 rule
- Maintain minimum 2 cm
- Use 300 DPI
- Prefer vector formats
- Keep quiet zone
- Adjust for material
- Use proper error correction
- Test before mass printing
Correct sizing ensures QR codes remain functional, reliable, and globally compliant in all printed materials.